


Remix and Metamask Integration on Rootstock Testnet: Developer Guide

This article is part of the “Bitcoin Developer Journey” series exploring different steps and guides for developers who want to dip their toes in the Rootstock ecosystem and start building DeFi on Bitcoin.
In this article, we’re exploring step-by-step how to use Remix and Metamask, which are tools that were originally built for Ethereum, to create and deploy a simple smart contract on Rootstock Testnet.
Reading is not your thing? Watch the tutorial on YouTube instead.
And now, we code!
Requirements
- Metamask
- Remix
Metamask
- Go to metamask.io and install it.
- You can either use the metamask-landing.rifos.org tool to download/install Metamask, and add Rootstock custom network or follow the steps listed in metamask.io.
- Create an account.
- Write down your seed phrase, or mnemonic, or backup phrase (all these terms mean the same), with 12 words. This is used to recover your account, in case you lose your password.
The seed phrase is the most important thing in a wallet/account!
Remix
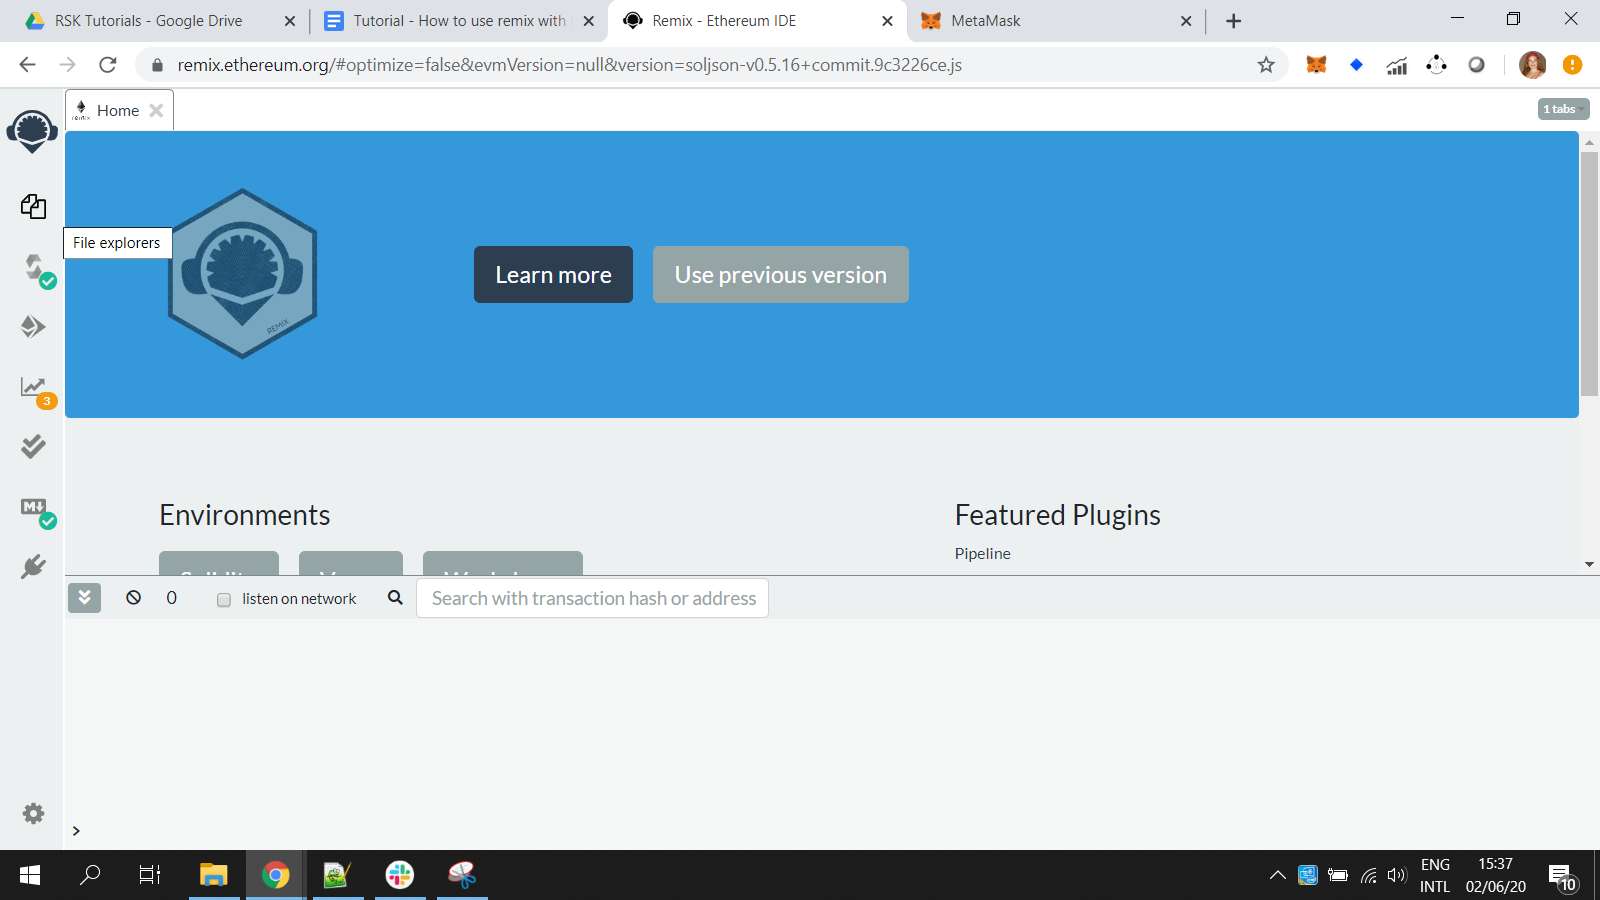
Remix is an online web tool. It is an IDE (Integrated Development Environment) used to write, compile, deploy, and debug Solidity code. It can be connected with Metamask and used to deploy smart contracts to both the Rootstock Testnet and Mainnet.
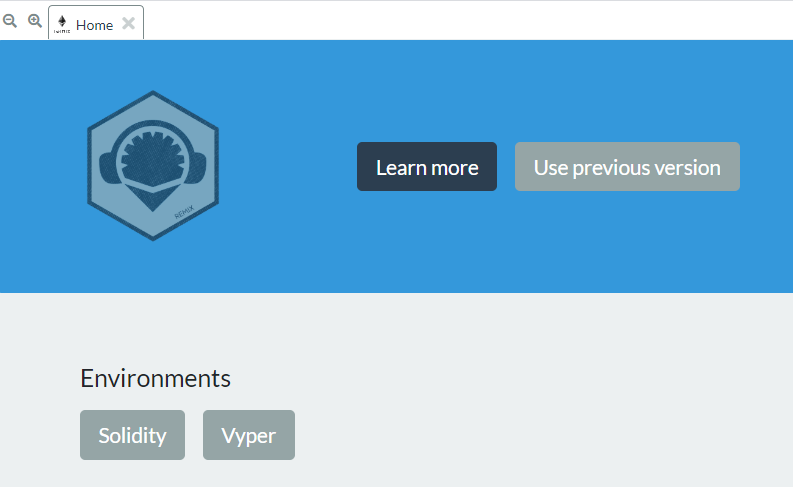
Remix can be accessed at remix.ethereum.org.
Connect MetaMask to Rootstock testnet
- Go to networks
- Custom RPC

- Network Name
RSK Testnet - New RPC URL
- https://rpc.rootstock.io/API_KEY
- https://rpc.testnet.rootstock.io/API_KEY
- ChainID (optional)
31 - Symbol (optional)
tRBTC - Block Explorer URL (optional)
https://explorer.testnet.rsk.co
After configuring it, select the Rootstock Testnet.
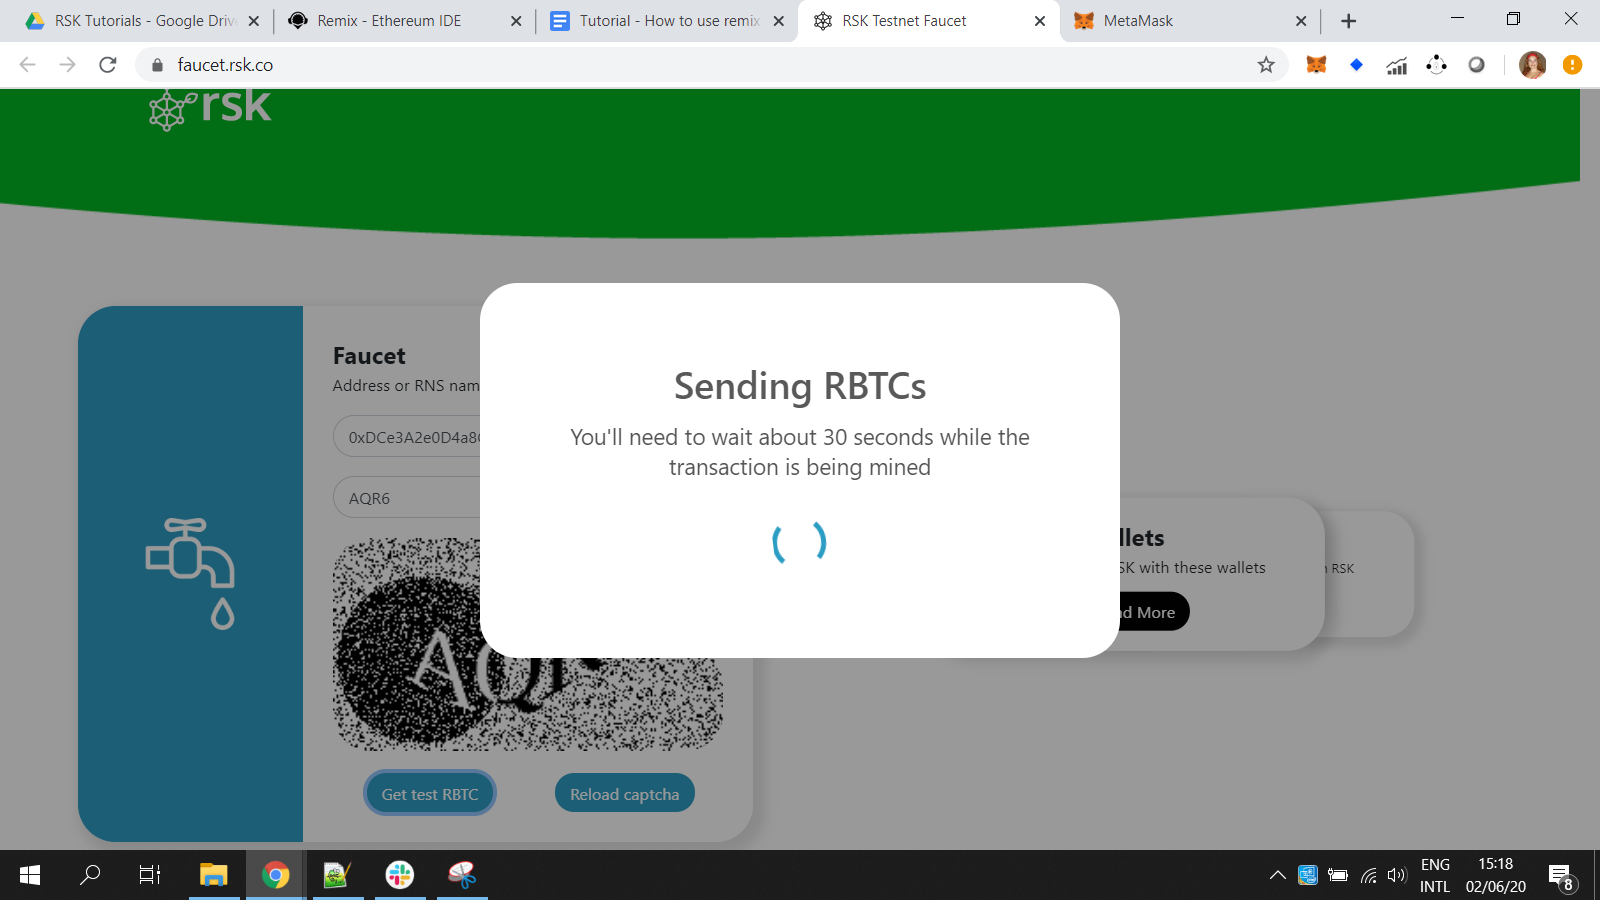
TestNet Faucet
You can get some Testnet RBTC at https://faucet.rootstock.io/
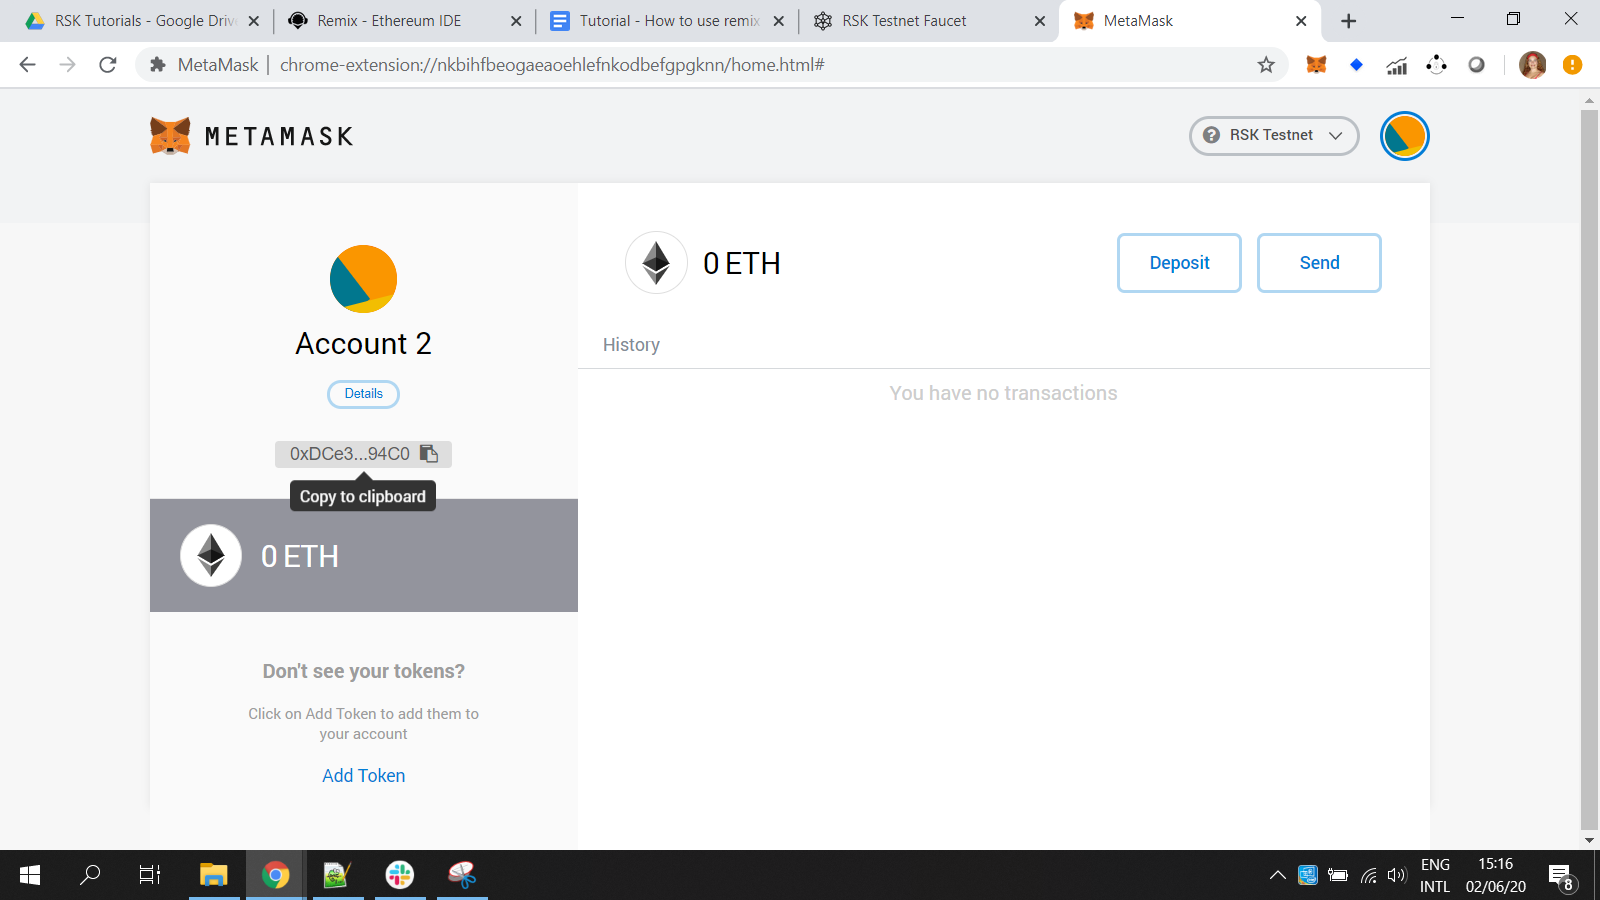
Copy your address from Metamask
Enter your wallet address and pass the CAPTCHA.
Wait a few seconds…
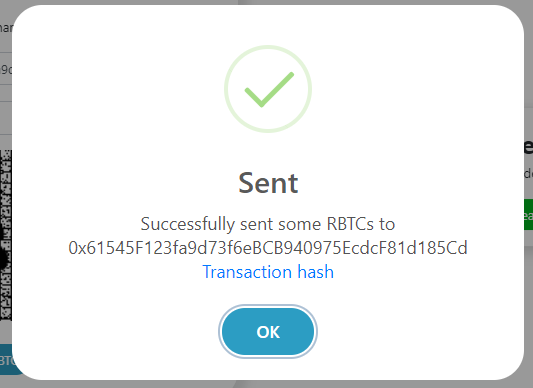
You can see the transaction hash, for example 0xf63c45dabd52e0b44f4cf15825985e9ddfe790b4323a88a3531f762a417f9011.
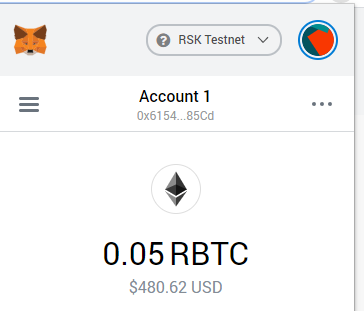
Now I have 0.05 RBTC!
Remix
Go to
In the home / welcome page, choose the environment Solidity.
Remix Connect Rootstock Testnet
With the Rootstock network selected at Metamask…
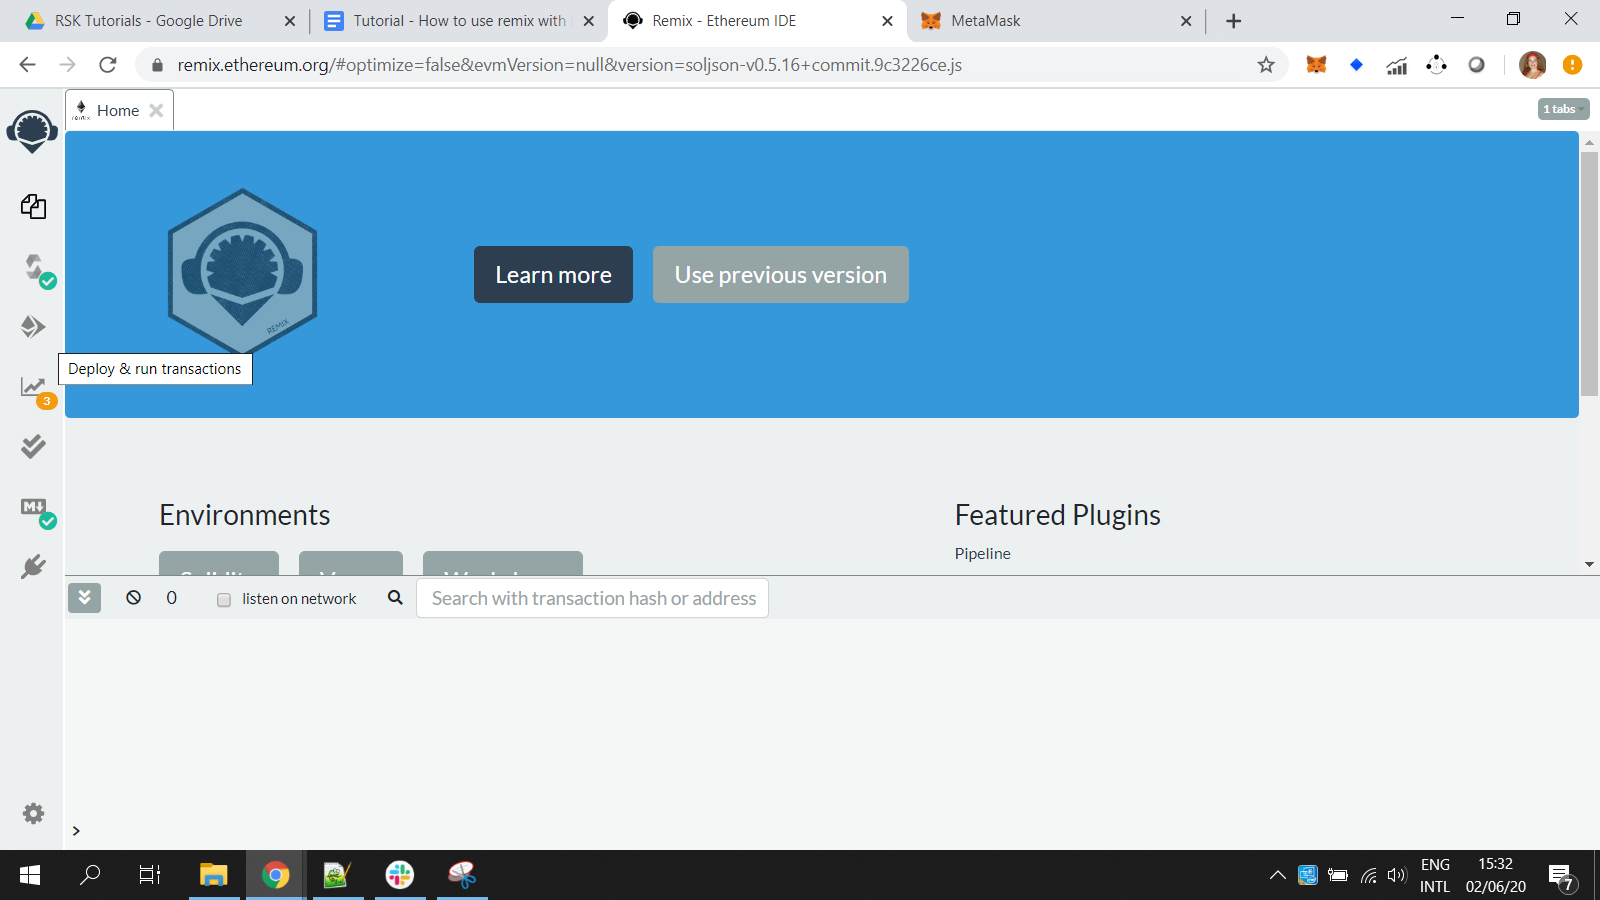
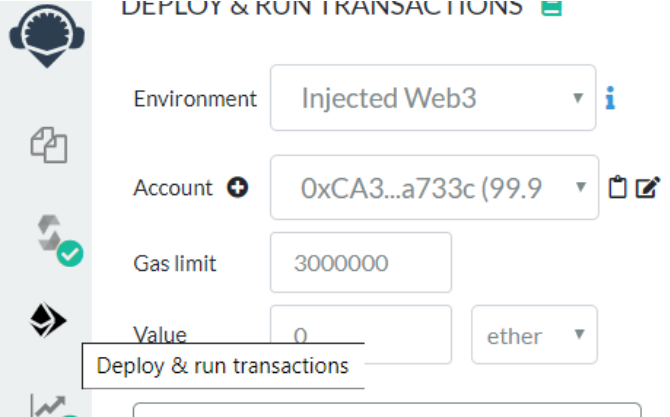
At Remix, on the left side, locate the button Deploy and run transactions. For now, it is the 4th button
At Environment, choose Injected Web3
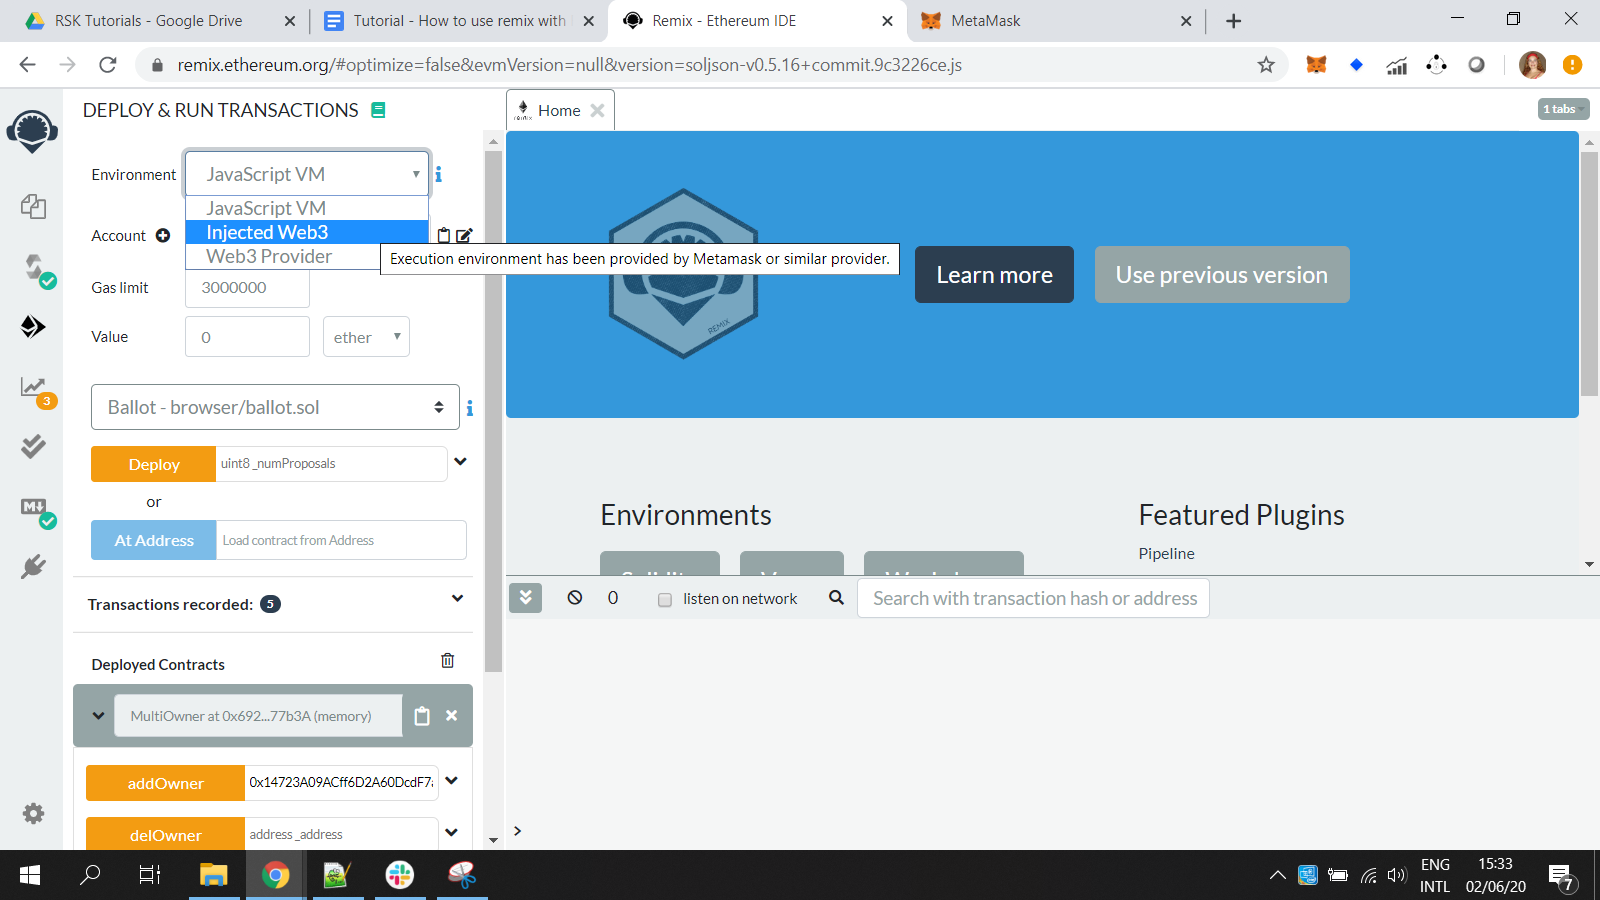
Injected Web3 connects Remix with an active account in Metamask
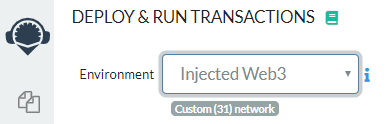
ChainID 31 was defined at the Rootstock Testnet custom network in Metamask.
Create a smart contract
Click on the second button on the left side – file explorer
Click on + create a new file
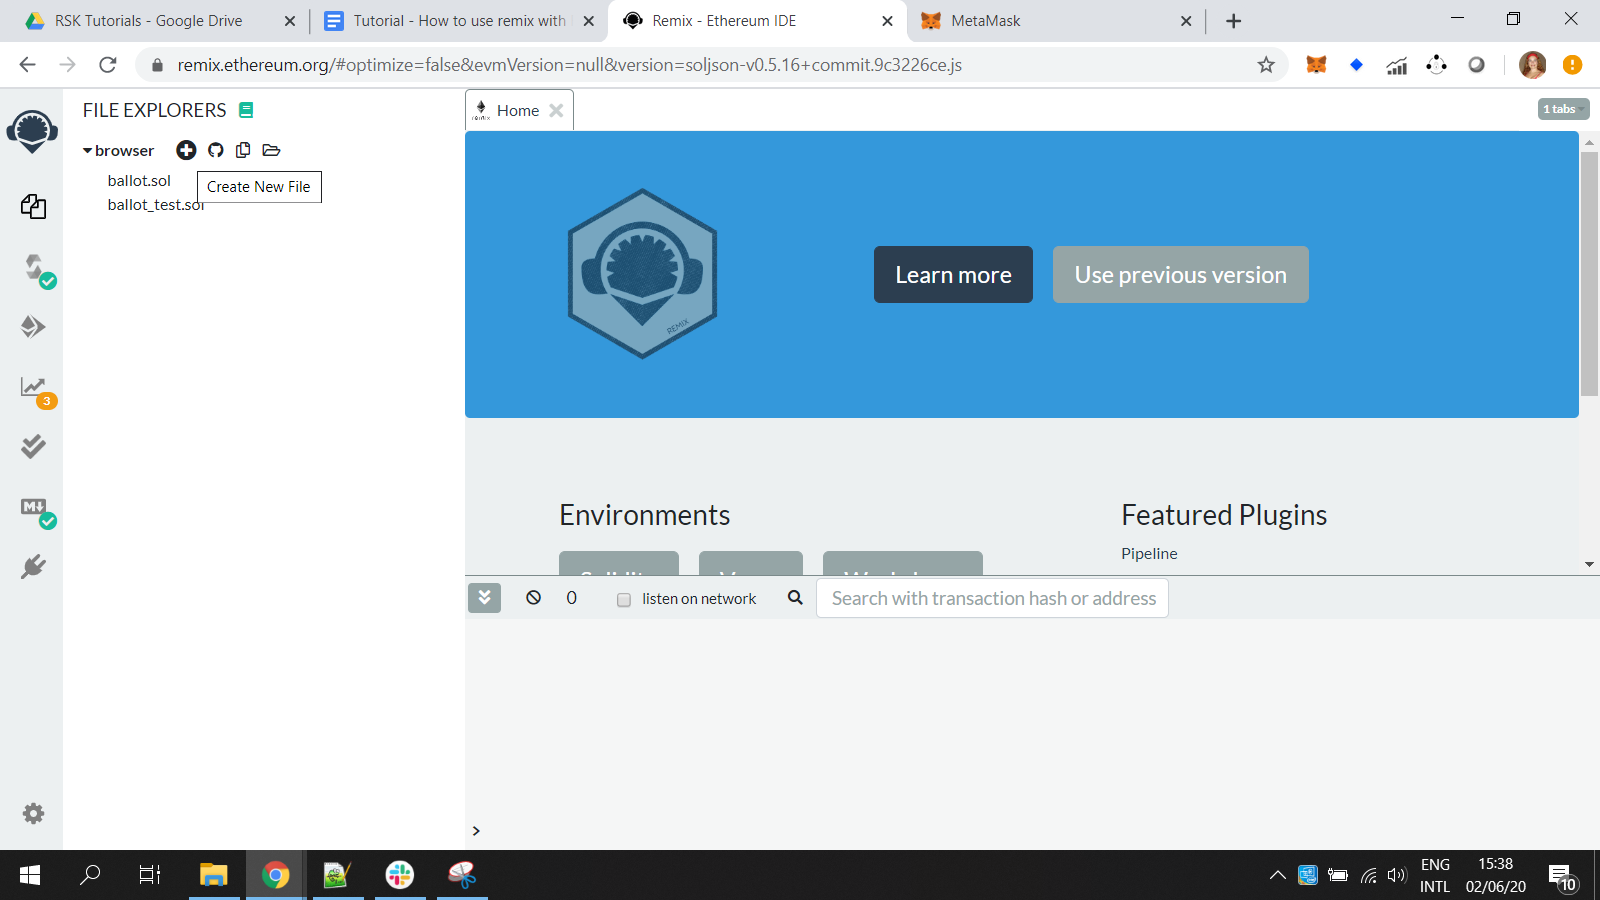
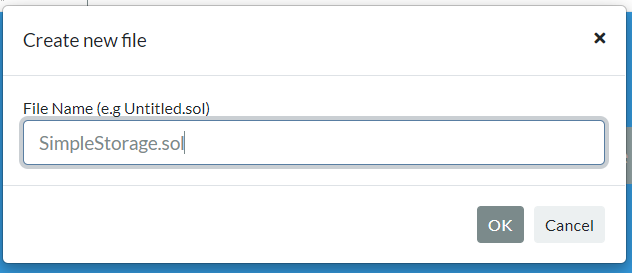
File name: SimpleStorage.sol
Copy this example:
pragma solidity >=0.4.0 <0.7.0;

contract SimpleStorage {
    uint storedData;

    function set(uint x) public {
        storedData = x;
    }

    function get() public view returns (uint) {
        return storedData;
    }
}
And paste it here: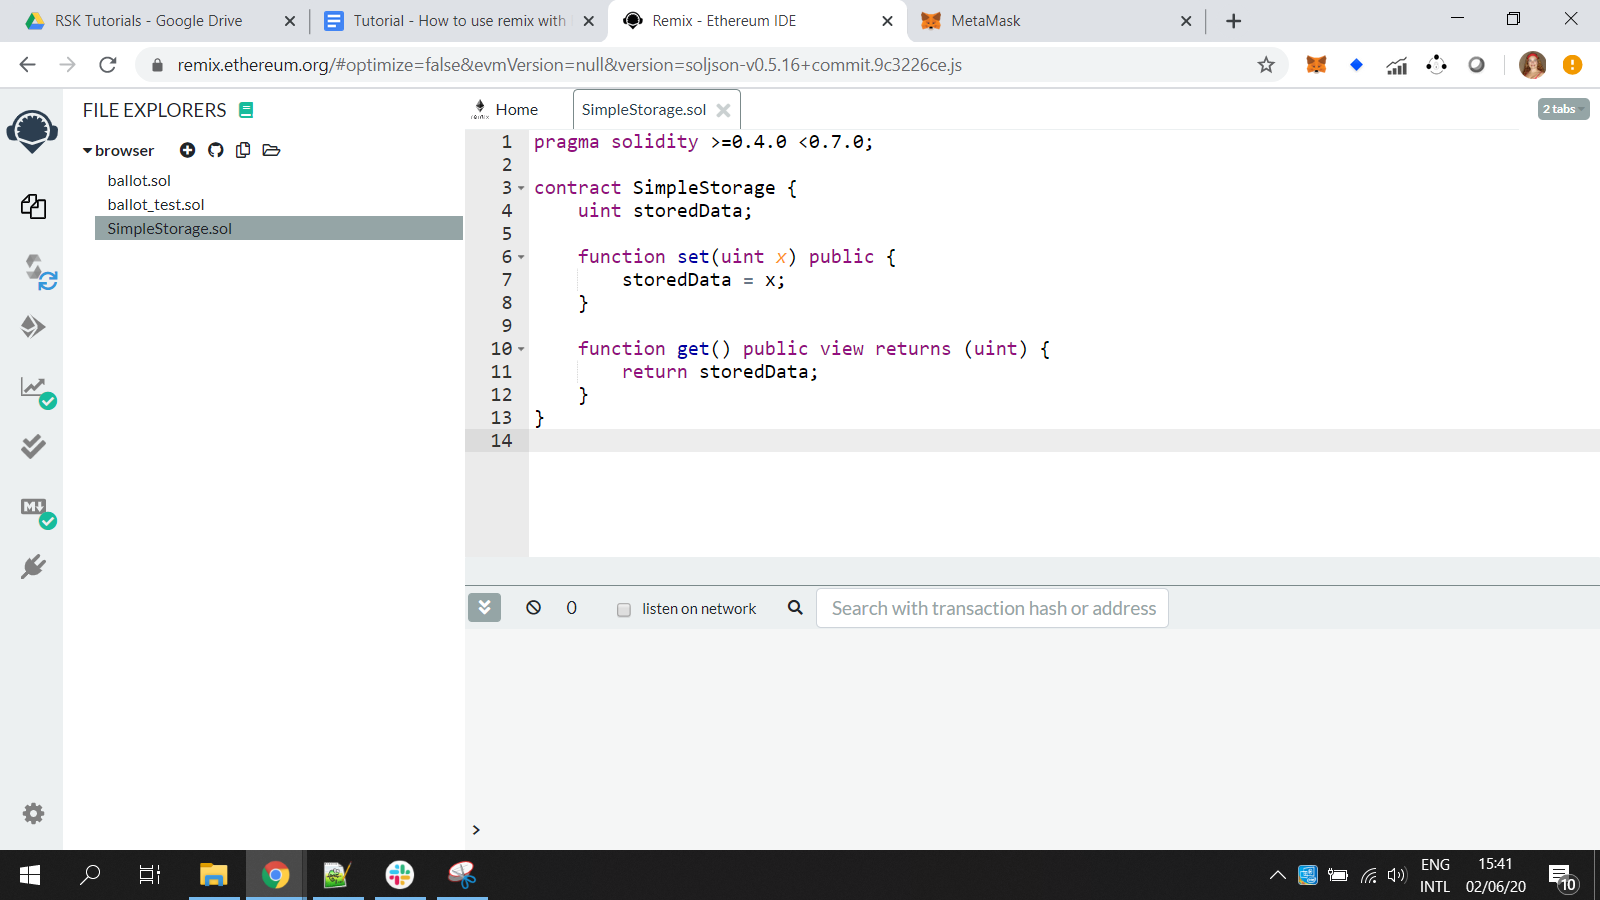
SimpleStorage.sol
This smart contract has:
- A variable
storedDatato store a number - A function
get()to return the number stored at variablestoredData - A function
set()to change the number stored at variablestoredData
Compile a smart contract
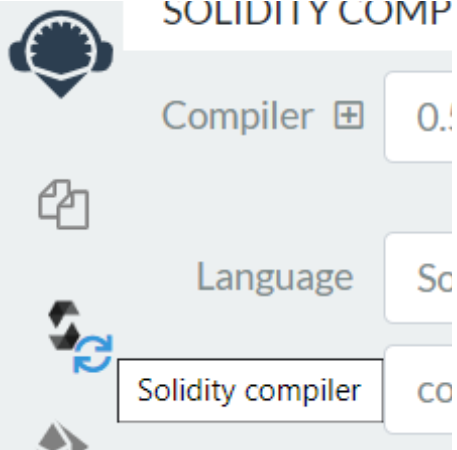
In the 3rd button at left side click on Solidity compiler
It is useful to enable auto-compile
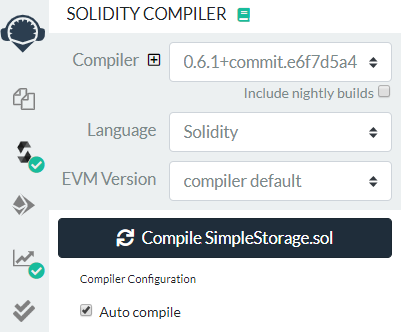
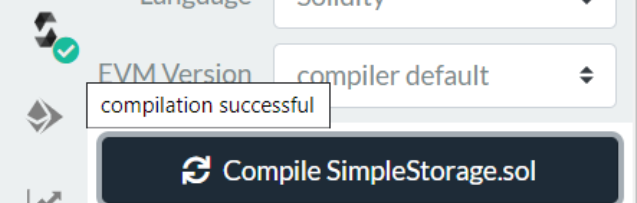
For now, click on the button Compile SimpleStorage.sol

Check the green sign at 3rd button with the message compilation successful
Deploy a smart contract on the Rootstock testnet
In the left side panel, go to the button Deploy and run transactions. Actually, it is the 4th button.
For now, we have only one smart contract, so it is automatically selected in the dropdown.

Click in the button Deploy.
It will open a Metamask popup window, to confirm the transaction to create the smart contract SimpleStorage.sol
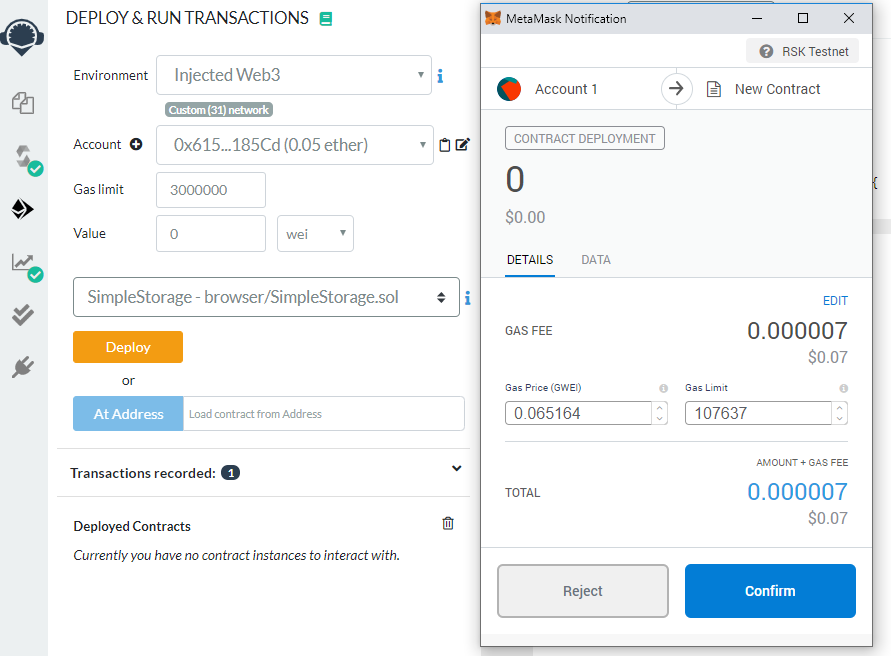
Click on confirm.
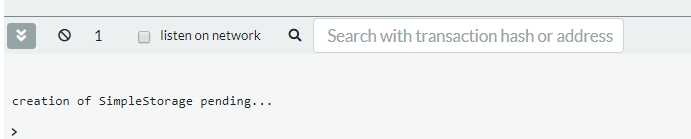
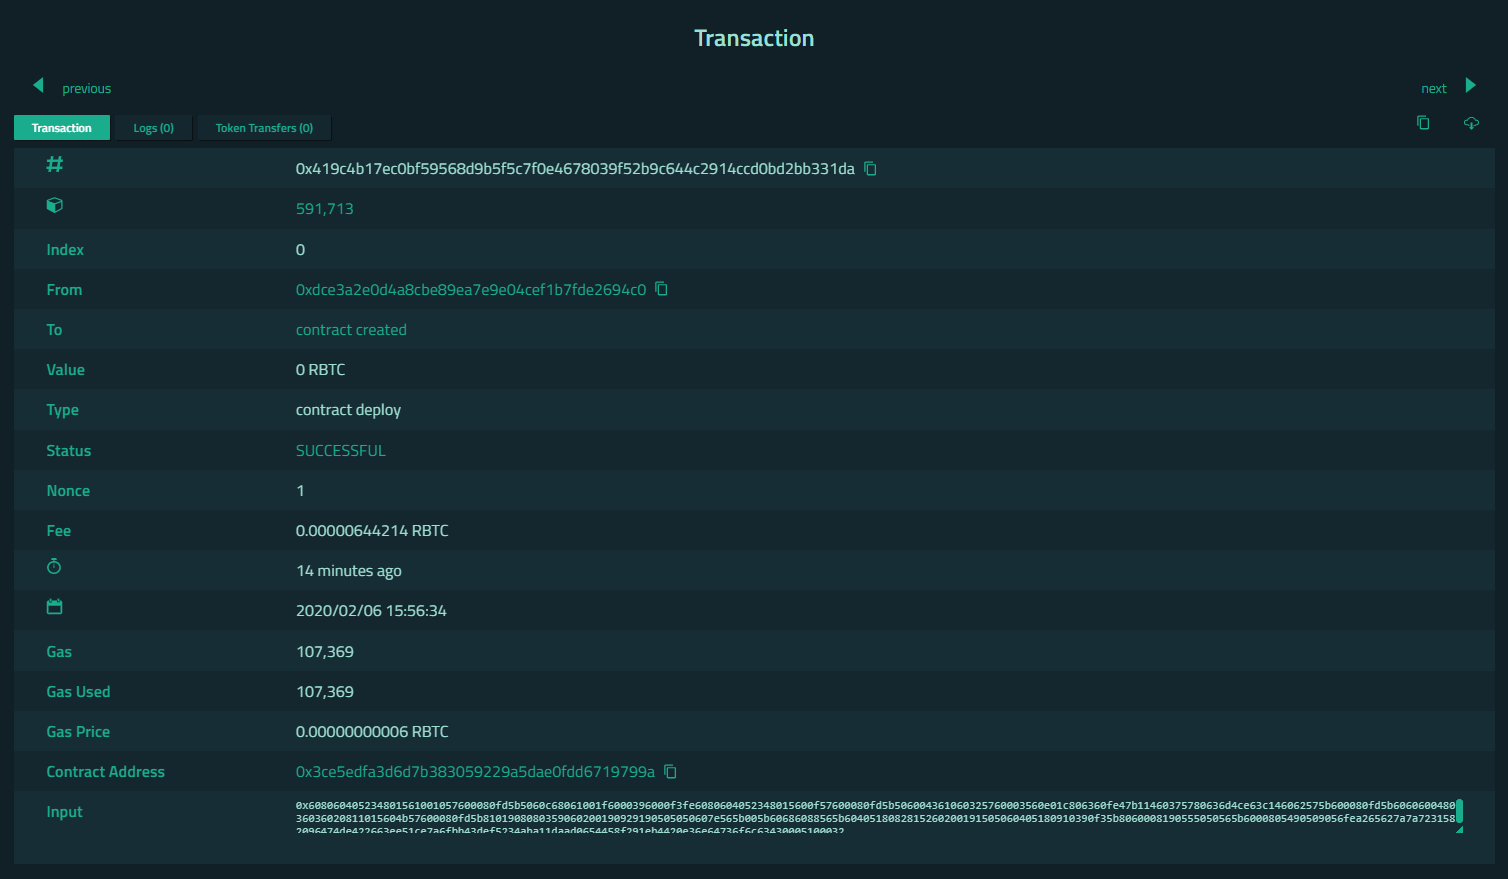
At the bottom right, we can check the message: creation of SimpleStorage pending...
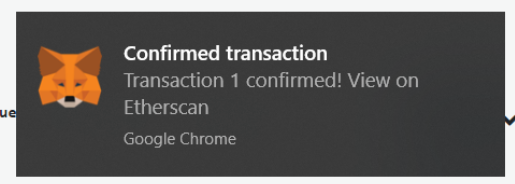
Once it is confirmed, we can check it

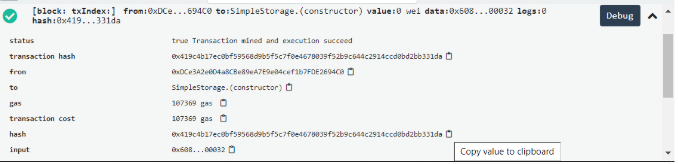
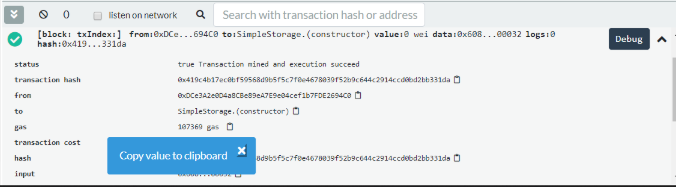
Click on the transaction line or the debug button (at the right side) to see more details of the transaction:
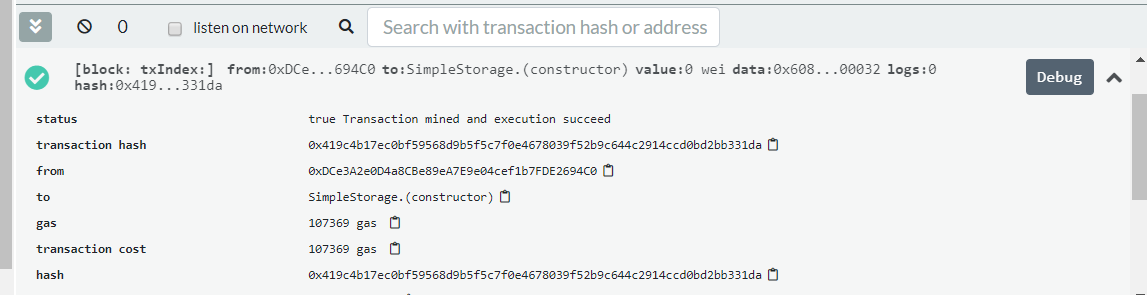
Copy the transaction hash to verify at blockchain explorer
In this example, the transaction hash is:
0x419c4b17ec0bf59568d9b5f5c7f0e4678039f52b9c644c2914ccd0bd2bb331da
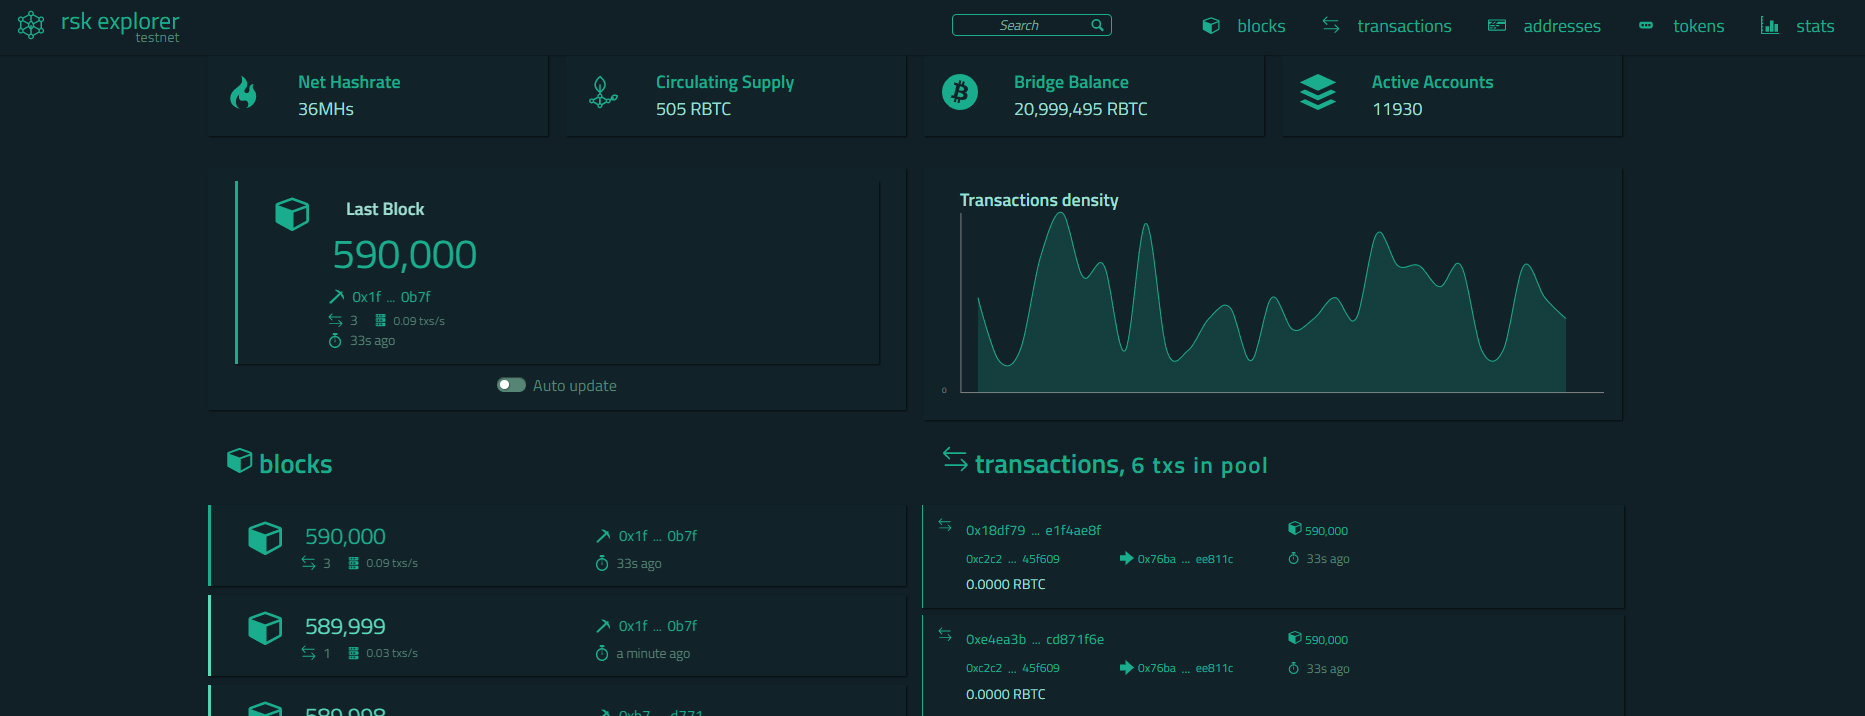
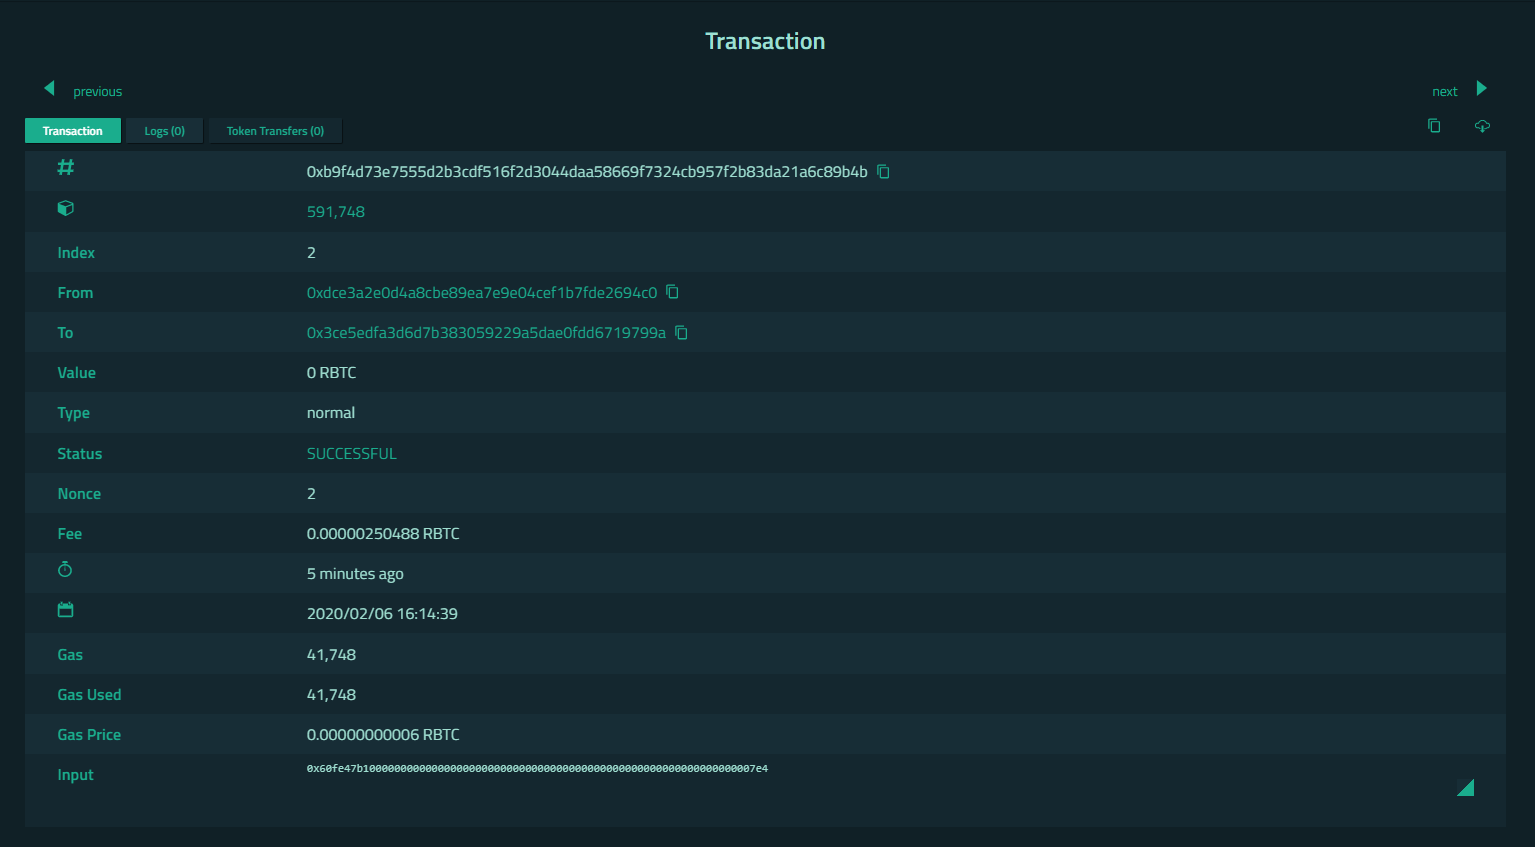
Rootstock Explorer
The Rootstock explorer is the blockchain explorer for Rootstock transactions. We will use the Testnet Explorer:
https://explorer.testnet.rootstock.io/
Past the transaction hash in the search field, at the top of the screen
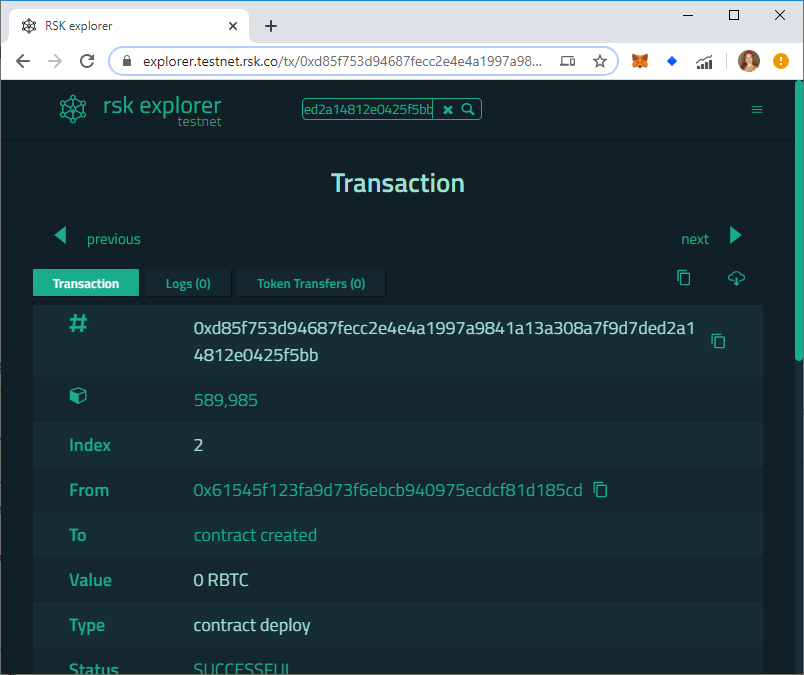
This is the result:
You can verify my example at: 0x419c4b17ec0bf59568d9b5f5c7f0e4678039f52b9c644c2914ccd0bd2bb331da
Interact with the smart contract
When a smart contract is deployed with Remix, we can see it in the left panel under deploy and run transactions:
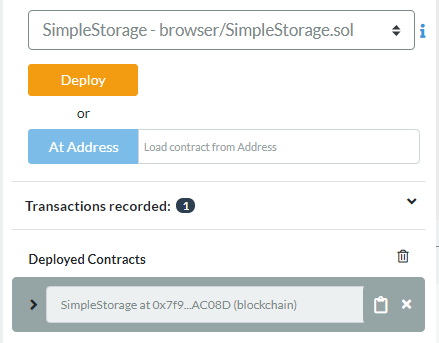
Click on > to expand SimpleStorage:
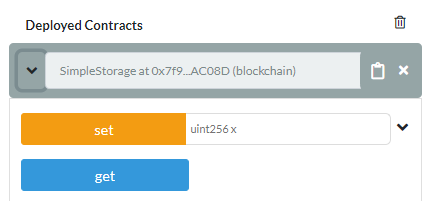
These are the same functions we created in our smart contract!
The orange buttons are functions that will change some information stored on the blockchain, we call them state changes. This kind of function expends gas when used.
The blue buttons are functions that are read-only, and it does not change anything stored on the blockchain. We do not need to expend gas when using them.
Get
First of all, we will check the value stored at deployment.
Click on the button “get”
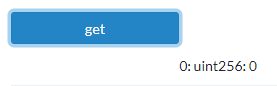
We do not have any value stored, because we do not define anything at the moment when we deployed.
At bottom right, we can check that it was a call to SimpleStorage.get() function:

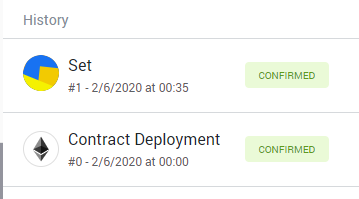
Set
Put a value in the field at the right side of the set button, and click on the button:

It will open a Metamask popup window, to confirm the transaction to store a value.
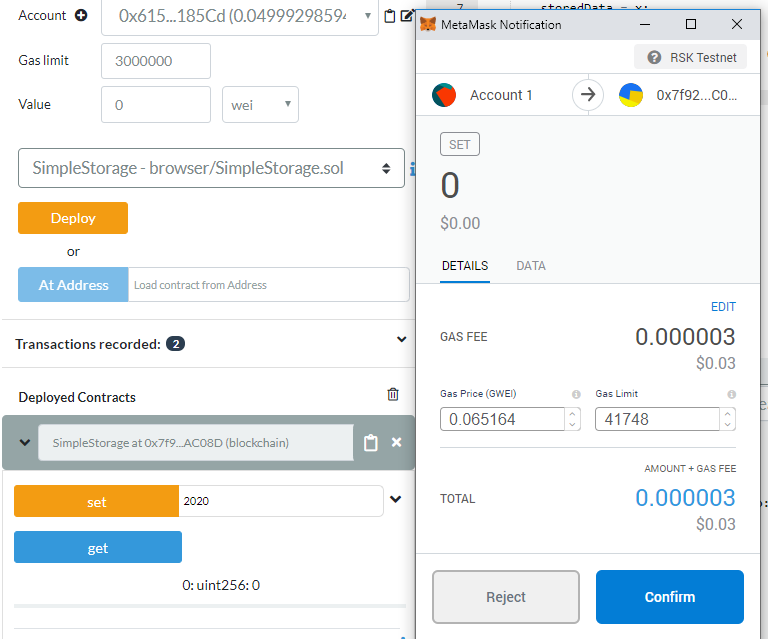
Click on “Confirm”
At the bottom right, we can verify that the transaction is pending, waiting for confirmation at blockchain:

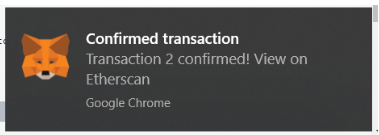
After a few seconds, Metamask will show when the transaction has been confirmed!
At the bottom right, we have the transaction’s details
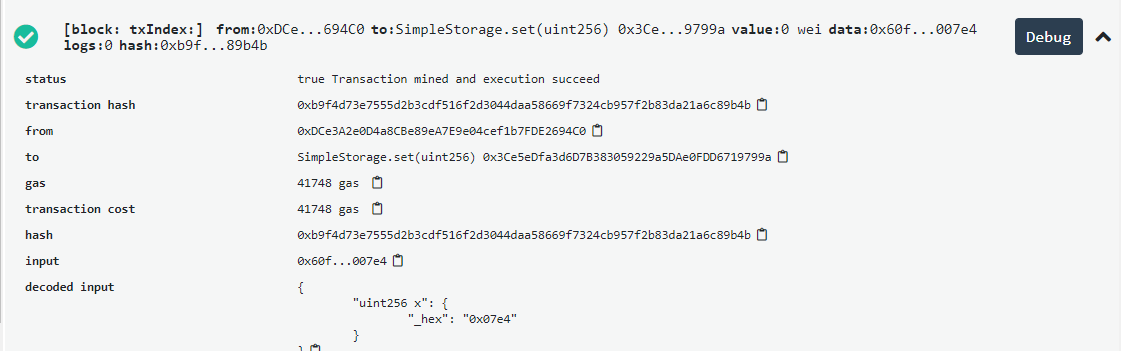
You can copy the transaction hash and verify on the Rootstock explorer too: 0xb9f4d73e7555d2b3cdf516f2d3044daa58669f7324cb957f2b83da21a6c89b4b
Get (again)
Now we have the value 2020 saved, and we can check it
Click on the button “get”
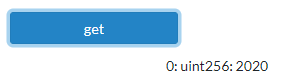
And the value is correct!
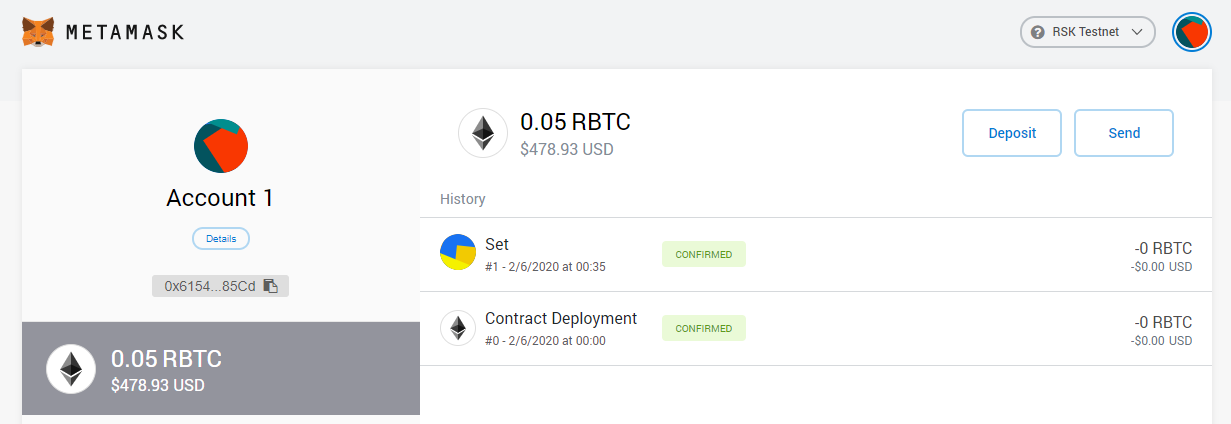
Transactions in Metamask
It is possible to verify all transactions in metamask
Building on Bitcoin?
Rootstock is the first and longest-lasting Bitcoin sidechain, making it an optimal ground to start building anything on Bitcoin. If this is where you are, you’ll enjoy these developer guides too:
- Have a dApp on Ethereum? Port your EVM dApp to Rootstock with this step-by-step guide.
- You’ll also need RBTC, Rootstock’s native token. Don’t have RBTC? There are numerous ways to get it, read this comprehensive article.
- Learning how to automate workflows? Check out this step-by-step guide to getting started with Gelato’s web3 functions.
Enjoying the content for developers? Head to the Rootstock dev portal for comprehensive guides.